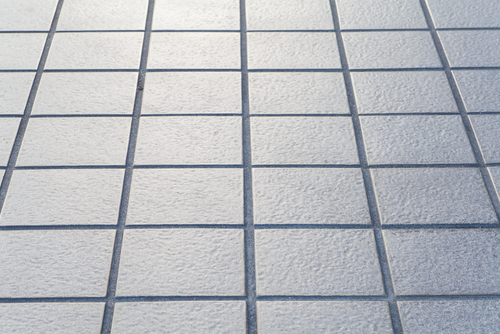

The most common remodeling project is bathroom remodeling. Many homeowners are not completely happy with the standard bathrooms they may have gotten when they bought their homes. Or maybe they have their own unique style the want to impart. When you think of modern bathroom design, the first few thoughts that might come up are minimalism, marble counters, glass shower enclosures, and tile floors or walls. A bathroom remodeling job can become expensive quickly. One way to avoid high costs is to do it yourself. Now of course certain materials will cost more than others, and you will likely need your glass shower enclosure or bathroom mirrors custom made or installed professionally, but tiling is a great DIY project. It requires a moderate level of skill and is relatively inexpensive compared to hiring a contractor.
Walls Vs Floors
Before we talk about how to lay down tiles, let’s talk about where you are putting them. Some homeowners want tile flooring while others go for the classic shower wall tile aesthetic. If you are doing the latter you should really consider a pattern that you will love as well as slide glass shower doors. You don’t want to cover up your hardwork with an opaque curtain. The other thing you need to consider is material, there are a few different material options for tiles and they have their own pros and cons including cost. But once you have completed the design, budget, and planning phase you are ready to roll up your sleeves and get to work.
Preparing the Area
The first and most important step in tiling your bathroom is measuring. You do not want to over or under buy when it comes to materials. Use a tape measure to get the dimensions of your flooring or walls. As the old saying goes, you always want to measure twice and cut once. After this, if you are working with flooring, you will need to prepare the underlayment. The underlayment is sub-flooring that provides the level surface that can support the weight of your tiles. You will need to attach the underlayment to the existing floor with screws.
Laying Tile
Once your underlayment is set up you will want to work on your layout. Lay your tiles in the configuration that uses the most whole tiles and fills the space correctly. You should use tile spacers to make sure tile are evenly spaced out. Once you have laid out the tiles you will need to determine what cuts need to be done to address any areas around the edges of your bathroom. Cut your tiles and place the cut pieces with the whole pieces. Once you are confident in the layout you can remove the tile and start officially putting them in place.
Apply Mortar & Grout
Next, you will need to apply a thin layer of mortar to the floor using a notched trowel tool. Replace the tiles a couple at a time and use spaces to hold their positions equally apart from each other. Once the tiles are in place, wait 24 hours and let everything set. Then you can remove the spacers apply the grout between the tiles.
Clean Up
Finally you can wipe away excess grout from between the tiles and apply a grout sealer. After 24 hours your floor will be complete and ready to walk on. If you have any questions about bathroom remodeling or about custom mirrors and shower enclosures, please contact Merrimack Valley Glass and Mirror.
